Problems With Crawl Space Encapsulation: The Real Downsides and Risks
Crawl space encapsulation works when it is done right, and most horror stories you read come from a job that was done wrong. This guide is the honest version: the genuine downsides, the situations where encapsulation is the wrong call, the installation mistakes that turn a good idea into a moisture trap, and how to avoid each one before you spend a dollar.
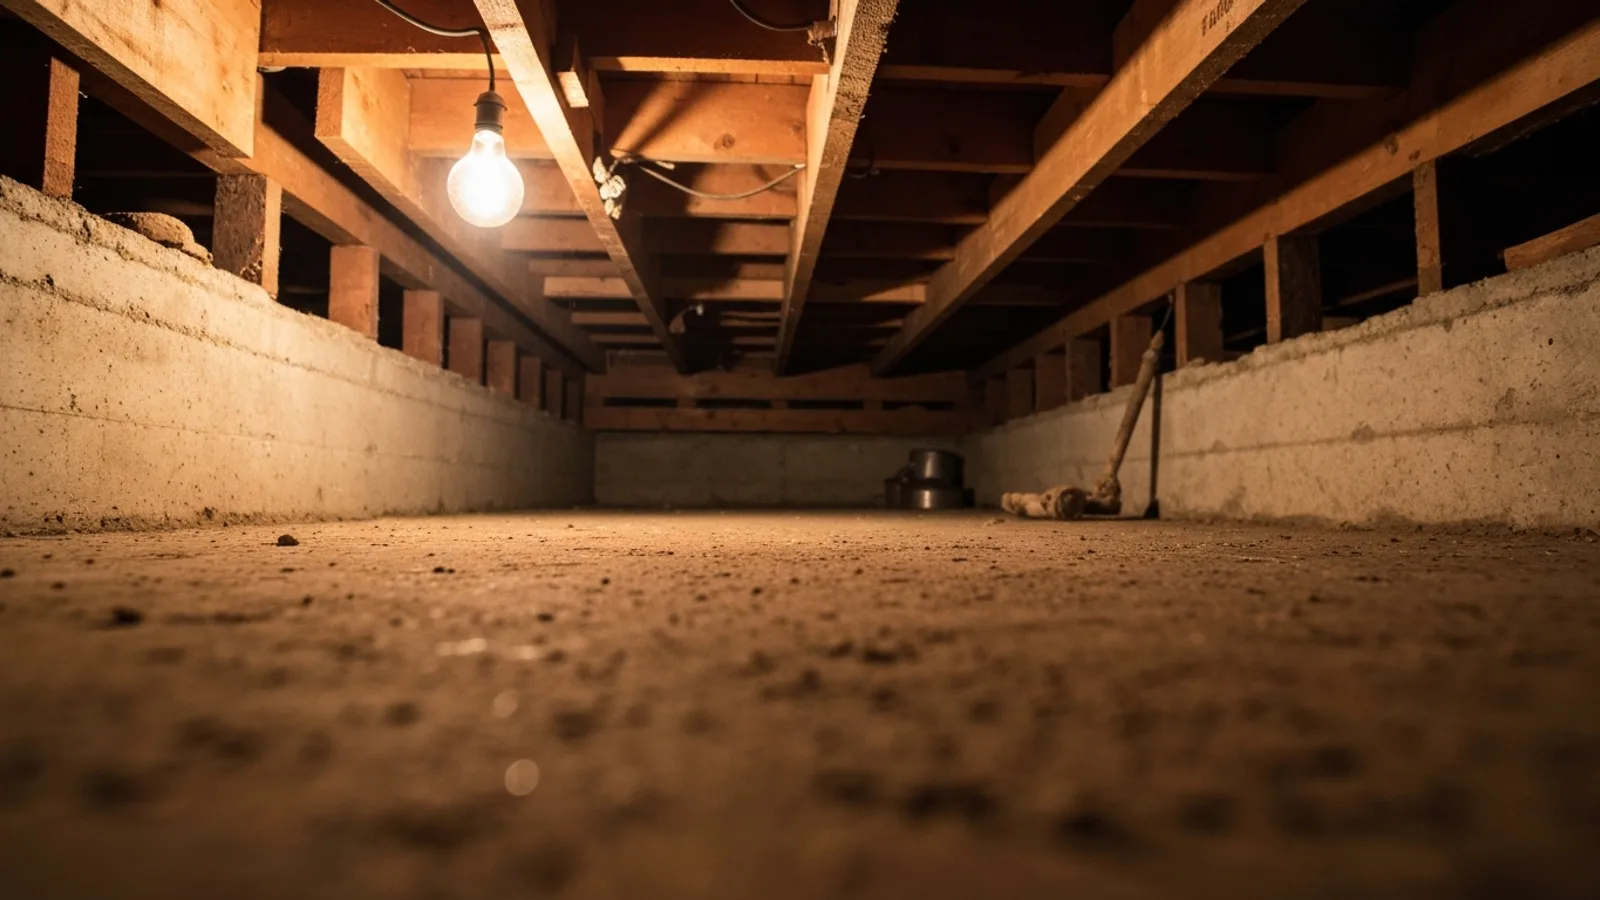
The Real Downsides Nobody Sells You On
Encapsulation has clear documented benefits, but it also has real tradeoffs. These are not installation mistakes - they are baked into the approach, and you should weigh them before committing.
1. High Upfront Cost
A full encapsulation with a heavy liner, sealed vents, insulation, and a dehumidifier typically runs $4,500 to $12,000 depending on square footage, wall height, and how much prep the space needs. That is a large single expense, and unlike a new roof or HVAC unit, it is invisible - you never see it, so the value can feel abstract. If your budget is tight and your crawl space is dry, a simpler vapor barrier over the floor may be the smarter first step. See how these ranges are built on our cost breakdown, or run your own numbers with the cost calculator.
2. Ongoing Dehumidifier Energy Cost
In a humid climate, the dehumidifier is the part that makes the system actually work - and it runs on electricity. A commercial-grade crawl space unit draws roughly 4 to 7 amps and, depending on climate and how hard it works, adds somewhere in the range of $10 to $30 per month to your power bill during humid seasons. Over a decade that is real money, and it is a cost the sales brochure rarely highlights. The counterweight is that a sealed, conditioned crawl space usually lowers your HVAC bill, so the net energy change is often small - but it is not always a wash.
3. Trapped Moisture When Installed Wrong
This is the big one. A vapor barrier is a plastic sheet. If you lay plastic over a crawl space that has an active water source - a high water table, poor grading, a plumbing leak, or bulk water intrusion after rain - and you do not add drainage and humidity control, you have not solved the moisture problem. You have sealed it in. Water pools under or on top of the liner, humidity climbs, and wood stays wet in a space that no longer breathes. This is the mechanism behind almost every "encapsulation made my crawl space worse" story.
When Encapsulation Is the Wrong Choice
Encapsulation is not a universal answer. It is the wrong first move when:
- You have unresolved bulk water intrusion. If water actively flows or pools in the space after rain, the fix is drainage - grading, gutters, a French drain, or a sump pump - before any liner goes down. Sealing over standing water is the classic mistake. Read our guide on crawl space moisture sources to diagnose where the water is coming from.
- You have active mold that has not been remediated. A liner does not kill mold. Covering it up hides the problem and often feeds it. Existing colonies must be remediated first.
- You are in a genuinely dry climate. In arid regions, a vented crawl space with a simple floor vapor barrier may be perfectly adequate. Full encapsulation with a dehumidifier can be overkill you will never recoup.
- You have combustion appliances in the crawl space without proper venting. A gas furnace or water heater that draws combustion air from the crawl space needs that air. Sealing the space tightly around an atmospherically vented appliance can starve it or cause backdrafting. This needs a professional assessment first.
- The budget only covers a partial job. A half-done encapsulation - liner but no dehumidifier in a humid climate, or floor-only coverage - can perform worse than leaving the space vented. If you cannot afford the full system, a phased plan or a simpler vapor barrier approach beats a compromised install.
Installation Failures That Cause Problems
When encapsulation goes wrong, it is almost always one of these. Here is what fails, why, and how to prevent it.
| Problem | Cause | How to Avoid It |
|---|---|---|
| Liner tears and punctures early | Inadequate mil thickness (6-10 mil) in a space with foot traffic or debris | Spec a 12-20 mil reinforced liner; use protective mats on access paths |
| Humidity stays high after install | No dehumidifier in a humid climate, or an undersized unit | Include a correctly sized commercial dehumidifier; target under 60% RH |
| Moisture wicks in from foundation walls | Floor-only coverage that leaves block walls exposed | Extend the liner up the walls and seal to a termination bar |
| Water and vapor leak between sheets | Unsealed or poorly overlapped seams | Overlap seams 12 inches and seal with butyl tape |
| Mold returns under the liner | Existing mold or wet wood never remediated before sealing | Remediate mold and dry the space fully before installing |
| Standing water on top of the liner | Bulk water intrusion with no drainage plan | Add grading, gutters, drainage, or a sump pump first |
| Vents left open | Skipped or half-done vent sealing | Seal and insulate all foundation vents as part of the job |
Inadequate Mil Thickness
Cheap jobs use thin 6-mil poly that punctures under any foot traffic and tears at the seams within a few years. A quality install uses a reinforced 12 to 20 mil liner. The difference in material cost is modest; the difference in lifespan is a decade or more.
Floor-Only vs Full Wall Coverage
A liner that covers only the dirt floor and stops at the base of the foundation walls leaves the block walls free to wick ground moisture into the space. Proper encapsulation runs the liner up the walls and seals it to a termination bar near the top, creating a continuous barrier. Floor-only work is cheaper, and in a dry space it can be enough - but in a humid climate it is a common source of lingering dampness.
No Dehumidifier in a Humid Climate
A sealed crawl space in the humid Southeast without active humidity control can still sit above 70% relative humidity, which is the threshold where mold grows on wood. The EPA and ENERGY STAR both recommend keeping indoor relative humidity below 60%. In a humid region, the dehumidifier is not optional - it is the component that delivers the mold prevention you paid for.
Skipping Remediation and Drainage
The two prep steps most often skipped to cut cost are mold remediation and drainage. Both are the exact things that make encapsulation fail when omitted. If a contractor quotes you a low number and does not mention assessing water intrusion or existing mold, that is a red flag, not a bargain.
Radon and Combustion Air in Sealed Crawl Spaces
Tightening a crawl space changes how air and soil gases move through your home, and two issues deserve specific attention.
Radon. Radon is a soil gas that seeps up from the ground. A vapor barrier reduces radon entry paths, which is good - but sealing a space can also concentrate whatever radon does get in if the space is not properly handled. The EPA is clear that encapsulation is not a substitute for radon mitigation. If you are in a high-radon area, test after encapsulation and install a proper sub-slab or sub-membrane depressurization system if levels warrant it. Our radon guide covers testing and mitigation in more detail.
Combustion air and HVAC. If your furnace, water heater, or other fuel-burning appliance sits in or draws air from the crawl space, sealing that space can affect how it vents. Atmospherically vented appliances need makeup air, and a tightly sealed space can cause backdrafting - pulling combustion byproducts, including carbon monoxide, back into the space instead of up the flue. A qualified contractor should evaluate combustion appliances before sealing and provide dedicated combustion air or recommend sealed-combustion equipment where needed.
Does Encapsulation Cause Mold? The Honest Answer
This is the fear that stops most skeptical homeowners, so it deserves a straight answer: encapsulation done correctly prevents mold, and encapsulation done wrong can cause it. Both statements are true.
Mold needs sustained relative humidity above roughly 70% on wood to grow. A correct system - remediated space, sealed vents, wall coverage, and a working dehumidifier - holds humidity below 60% year-round, which makes mold growth impossible on dry wood. That is not marketing; it is a direct function of humidity control.
The failure cases are specific and avoidable:
- The space had an active water source that was sealed over instead of drained.
- Existing mold was covered by the liner instead of remediated first.
- No dehumidifier was installed in a climate that needs one.
- The liner trapped moisture against wood because seams or walls were left unsealed.
In every one of those, the liner did not create moisture out of nothing - it trapped moisture that was already there or was never controlled. Fix the moisture source and add humidity control, and the same liner protects the space instead of harming it. For a fuller picture of how mold starts in crawl spaces, see our mold and mildew guide.
How to Avoid These Problems
The pattern across every problem above is the same: they come from cutting corners, not from the concept. Here is how to stay on the right side of it.
- Diagnose moisture first. Before anyone quotes a liner, find out where water and humidity are coming from and fix the source. Drainage and grading come before plastic.
- Remediate before you seal. Any existing mold or wood rot gets treated first, never covered.
- Insist on the full system in humid climates. Reinforced liner, wall coverage, sealed seams, sealed vents, and a correctly sized dehumidifier. Partial jobs are where problems live.
- Handle radon and combustion air. Test for radon and have combustion appliances assessed before the space is tightened.
- Vet the contractor. A good installer talks about drainage, remediation, and humidity control unprompted. One who only quotes "lay a liner" is the one to walk away from. Use our contractor guide to know what questions to ask and what a complete scope looks like.
Done this way, the downsides that fill the horror stories - trapped moisture, returning mold, wasted money - simply do not happen. The real decision is not "is encapsulation risky," it is "is it worth it for my specific crawl space." Weigh that honestly on our is it worth it breakdown.